Espadrille DIY
Yes, you may recognise these espadrilles from a previous DIY I did just before my trip to India in February and yes you are seeing double. I always buy shoes that I know I will get a good wear out of (or if they're a bargain) twice. The second pair have been through general wear and tear through the daily commute - since they're an off white colour I was expecting them to get dirty quickly, hence the two pairs. They're far too comfortable to throw away so I've decided to inject some life back into them by up-cycling them with some metallic leather I had laying around. Heres how I did it;
What you need:
- Leather
- Silver pen (or any pen that shows on the leather or material you are using)
- Fabric Scissors
- Aquilim (non toxic footwear glue)
- Brush
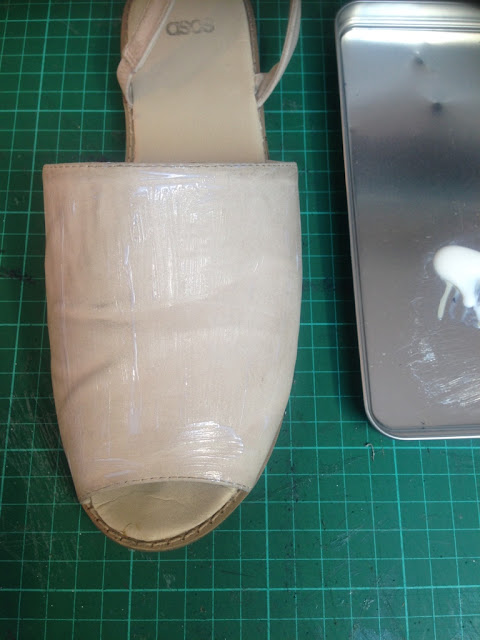
1. With the Aquilim glue cover the entire surface that you intend to cover with the new leather on your shoe (Leave the glue to get slight tacky)
2. Once the glue has got slightly tacky place the leather over the top of the glued surface, rub down air bubbles and make sure the entire surface is covered with leather. Using a silver pen outline where the leather should be trimmed to allow for neat edges.
3. When you are happy with the silver pen marks, peel back the leather (dont worry to much - this particular glue is a contact adhesive so both surfaces have to be glued to insure a secure bond between the two materials) and cut around the silver lines you have drawn.
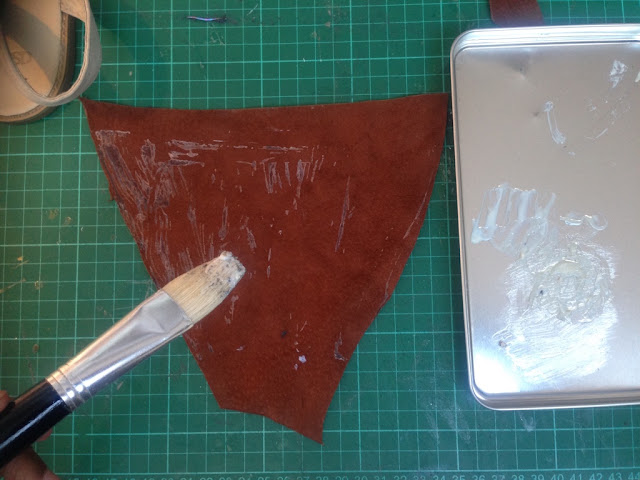
4. Using the Aquilim glue, cover the shoe surface (again! - as peeling back the leather would have removed the glue) and the leather and leave both of the surfaces to dry for a couple of minutes.
5. Place the leather onto the shoe and gently guide and stretch the leather into place (leather is an extremely malleable material so don't worry to much the leather does sometimes shrink when combined with the glue - a gentle tug will put that right back into place) Line up the sides and be sure to rub the air bubbles out. If there are some areas that have impossible areas with crease just peal the leather back and lay it over again - do this until you're happy with the outcome!
6. with the excess leather simply trim these areas down and fold them under. Remember to glue both of the sides you are sticking together to insure you have a secure bond.
7. aaaaaannnnnddddd they're ready to wear!


No comments:
Post a Comment